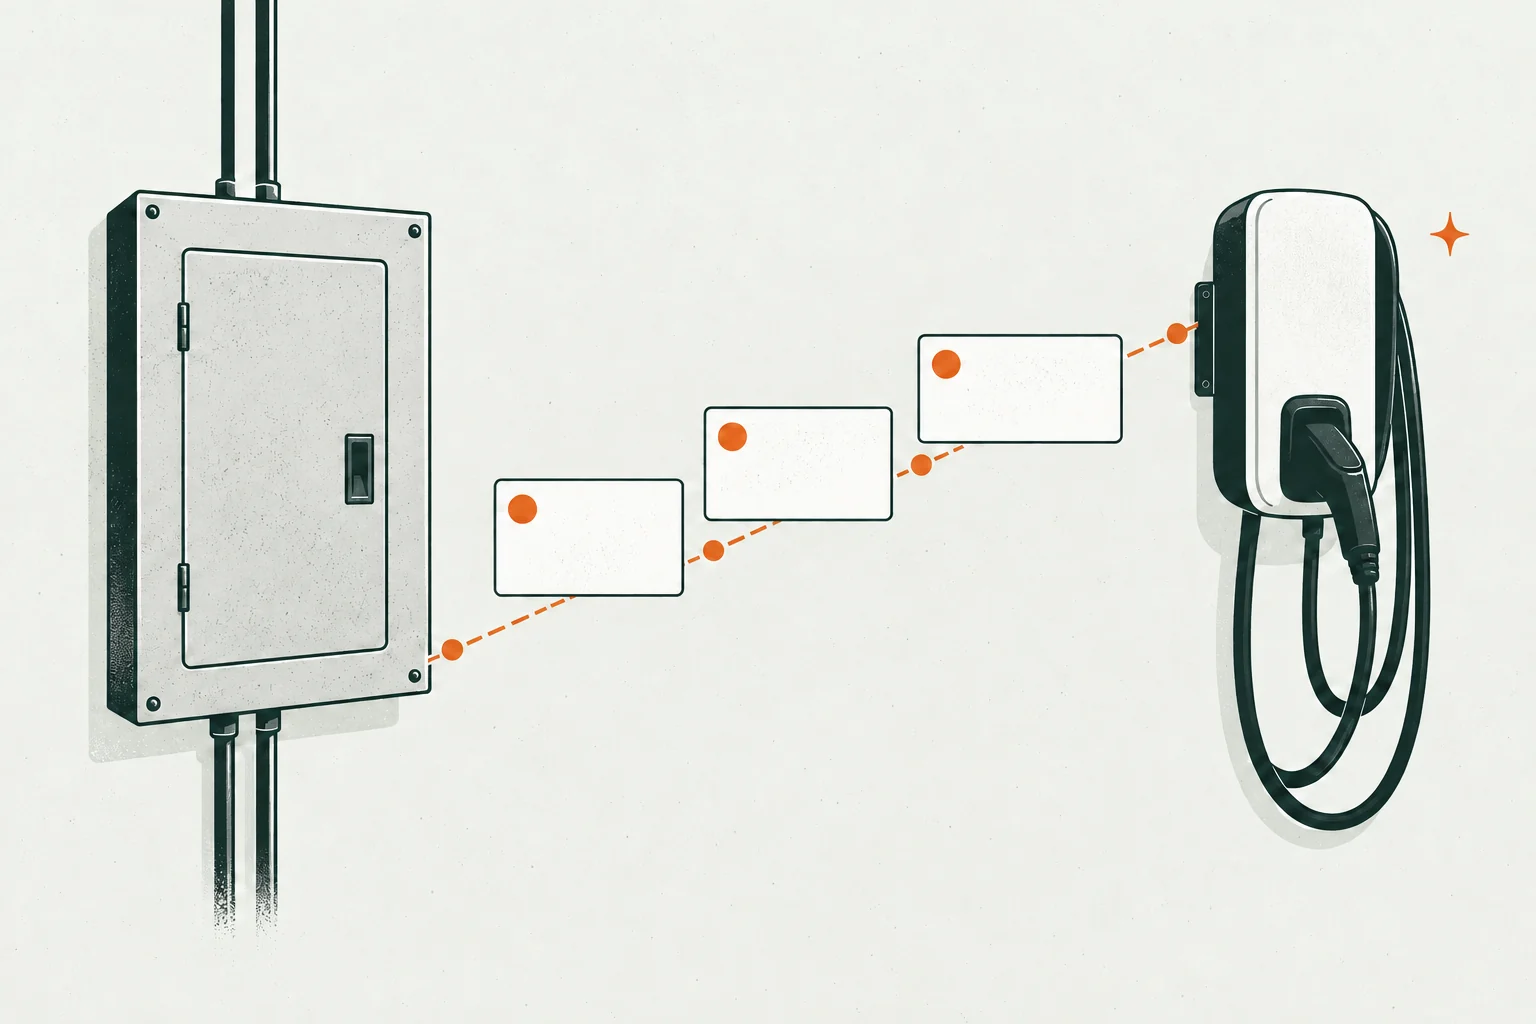
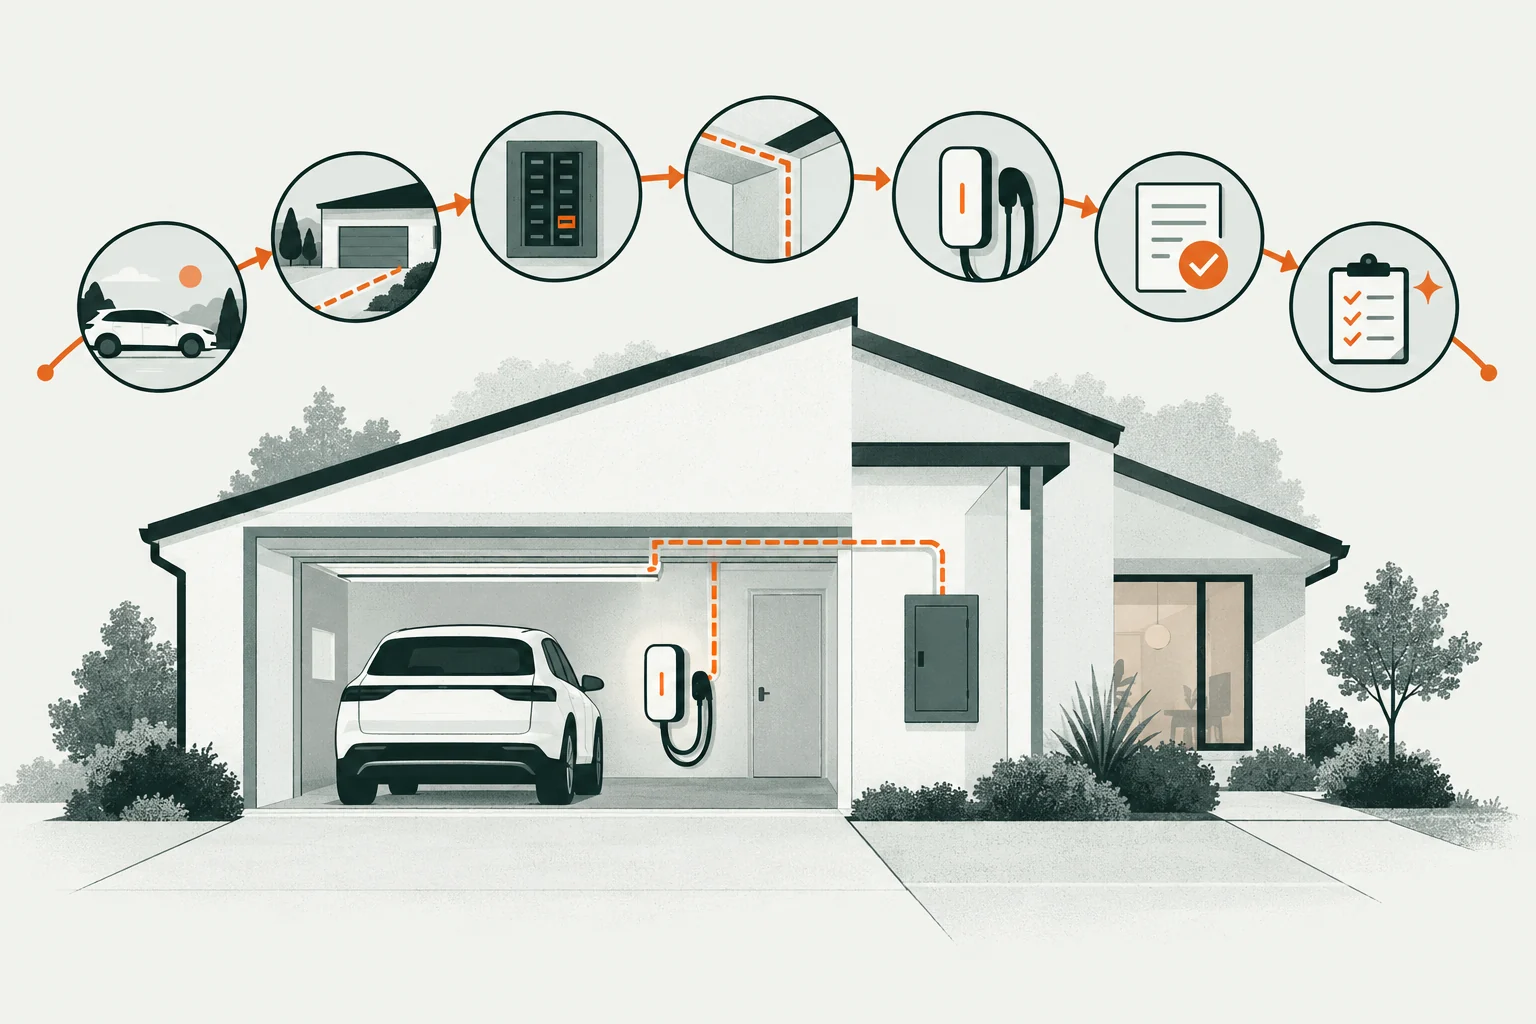
A Level 2 EV charger installation is more than a charger mounted beside a parking space. It is a small electrical project with seven decisions: how much charging you need, where the car parks, whether the home has capacity, how power reaches the charger, which equipment fits, what the permit requires, and how the finished system is verified.
Getting those decisions in the right order prevents two common mistakes: buying a charger before confirming the installation and treating the main-breaker number as proof that the panel can support it.
This guide gives you the whole decision path. It does not replace a load calculation, permit review, or installation by a qualified electrician.
Fast answer: Start with your driving need and parking layout, then have a licensed electrician evaluate capacity and the route. Choose the charger and connection method only after those constraints are known.
The seven-gate installation plan
| Gate | Decision | Evidence to keep |
|---|---|---|
| 1. Charging need | Required overnight energy, not maximum advertised speed | Daily miles, vehicle AC limit, dwell time |
| 2. Parking | Charger position and cable reach | Parking photo and measured route |
| 3. Capacity | Existing load and available capacity | Load calculation and panel photos |
| 4. Method | Hardwired or listed receptacle-based equipment | Charger manual and quote scope |
| 5. Equipment | Connector, current, enclosure, controls | Exact model and listing evidence |
| 6. Approval | Permit, utility, HOA, or landlord requirements | Permit number and approvals |
| 7. Handoff | Settings, inspection, and operation | Inspection result and commissioning record |
Each gate should close before the next irreversible purchase or construction step.
1. Define how much home charging you actually need
Level 2 charging uses a 208/240 V supply and covers a wide range of current settings. Faster is not automatically better. A driver who parks for 11 hours and replaces modest daily mileage may be well served by a lower-current circuit than the charger's maximum rating.
Start with four facts:
- your typical daily miles, plus a reasonable buffer;
- how long the vehicle normally remains parked;
- the vehicle's maximum AC charging rate;
- whether a second EV or another large electric appliance is likely.
ENERGY STAR's EV charger guidance describes Level 2 equipment as faster and generally more efficient than Level 1, while directing homeowners to a licensed electrician for the installation assessment. The goal is dependable overnight replenishment—not the largest circuit the catalog offers.
This matters because charging current affects conductor, breaker, equipment, and capacity decisions. A deliberate lower setting can sometimes solve the driving need without triggering a larger project, if the equipment and local rules allow that configuration.
2. Plan the parking position and electrical route together
Stand where the car will actually park. Note the charge-port location on the current vehicle, how another vehicle might be oriented, and whether the cable can reach without crossing a walkway or being stretched.
Then trace the likely path back to the electrical panel. The route may pass through a finished wall, attic, crawlspace, garage, exterior wall, or buried conduit. Distance is only one variable; surface type, fire-rated assemblies, weather exposure, and trenching can matter more than a few extra feet.
For outdoor installations, choose equipment rated for the location and plan drainage, impact protection, cable storage, and a mounting surface. The EPA home-charging guide specifically recommends checking cable length and weather suitability.
Give every bidder the same route photos and desired mounting point. Quotes are easier to compare when contractors are pricing the same job.
3. Have the home's electrical capacity calculated
An empty breaker space is not the same as electrical capacity. Conversely, a full panel does not automatically mean the utility service must be enlarged. The electrician needs to evaluate both physical space and calculated load under the adopted code.
Provide information about major loads such as electric heat, air conditioning, water heating, cooking, dryers, pools, spas, solar, batteries, and other EV charging. Also mention planned electrification. A solution that fits today but blocks a near-term heat-pump project may not be the best value.
Possible outcomes include:
- a dedicated circuit at the desired charging current;
- a lower configured charging current;
- a listed energy-management or load-management system;
- circuit or panel reorganization where allowed;
- panel replacement without a utility service change;
- a service or utility-side upgrade.
Our guide to panel upgrades versus load management explains how to compare these outcomes. None should be promised before the calculation and site conditions are documented.
4. Choose hardwired or receptacle-based charging
A hardwired charger is connected as fixed equipment. A plug-in charger uses a manufacturer-approved cord and a compatible receptacle, commonly NEMA 14-50 for supported models. Both routes still require a properly designed dedicated circuit and professional installation when a new circuit is added.
Hardwiring usually provides the cleanest permanent installation, avoids an extra plug-and-receptacle connection, and supports higher-current models that do not offer a plug. Plug-in equipment can be easier to replace or move, but the receptacle, enclosure, cord orientation, and local ground-fault requirements become part of the design.
Do not assume a dryer receptacle is suitable. Existing circuit capacity, receptacle type and condition, circuit sharing, charger instructions, and the adopted code all matter.
See the full hardwired versus NEMA 14-50 comparison before specifying either method.
5. Select the charger only after the installation constraints are known
The charger must fit the circuit and the vehicle—not the other way around. Use this sequence:
- Confirm the maximum current the installation can support.
- Choose J1772, NACS, or a manufacturer-supported integrated solution for the vehicles involved.
- Verify the exact model in an independent Nationally Recognized Testing Laboratory listing database.
- Check the enclosure rating and installation instructions for indoor or outdoor use.
- Review cable length, warranty, service path, connectivity, and offline behavior.
- Confirm utility rebate or managed-charging requirements before ordering.
ENERGY STAR certification addresses efficiency and product requirements, but it does not replace the safety listing, correct installation, or vehicle compatibility check. Use both the ENERGY STAR Product Finder and the exact manufacturer's documentation.
Our research-based Level 2 charger shortlist by installation scenario starts with these gates rather than declaring one universal winner.
6. Resolve permits, utility programs, and property approval
Permit and inspection requirements vary by jurisdiction. Ask who pulls the permit, whether the fee is included, what plan information is required, and who will be present if corrections are requested.
Some utilities require preapproval for a rebate, a qualifying charger model, enrollment in managed charging, or a particular rate. A rebate is not useful if the application occurs after its required step. Save screenshots or PDFs of the terms in effect when you apply.
If you rent or live in an HOA, obtain written property approval before work. Multifamily charging introduces parking rights, common-property rules, insurance, billing, and maintenance questions; use the separate multifamily EV charging guide rather than treating it as a single-family installation.
The federal Section 30C credit should not be shown as a current incentive for a new project placed in service today. The IRS now says eligible property had to be placed in service before July 1, 2026. State and utility programs may still apply.
7. Inspect and commission the finished system
Commissioning turns electrical work into a usable charging system. Before the installer leaves, confirm:
- the permit and inspection status;
- the configured charging current and corresponding circuit rating;
- the exact model and serial number;
- cable reach and storage in the normal parking position;
- app, Wi-Fi, access control, or schedule settings if used;
- vehicle charging at the intended setting;
- indicator and fault-state explanation;
- warranty registration and support contact;
- panel and disconnect labeling where required.
Keep the quote, invoice, permit, inspection record, charger manual, configuration record, and photographs together. Those documents help with rebates, warranty service, future electrical work, and a home sale.
What changes the Level 2 installation cost
The charger price is only one line. Circuit distance, routing difficulty, trenching, panel capacity, service work, permit fees, connection method, and surface restoration can change the total.
The EPA currently presents planning ranges of $400–$1,000 for equipment and $300–$2,000 for installation, but complex projects can exceed those figures. Treat national numbers as a planning reference, not a quote for your address.
Use our Level 2 EV charger installation cost guide to normalize bids line by line.
Questions to ask before accepting a quote
- Is the electrical load calculation included, and can I receive the result?
- What charger current and breaker size does the quote assume?
- Is the route, length, wiring method, and restoration scope explicit?
- Does the price include the permit and correction work if the inspection finds an issue?
- Is the charger hardwired or plugged in, and is every required component included?
- Are panel, service, utility, trenching, or surge-protection items allowances or fixed scope?
- Who commissions the charger and documents its current setting?
- What labor warranty and post-install support are included?
For a full comparison method, see how to choose an EV charger installer.
Work through one ordinary day and one difficult day
Before requesting maximum charging speed, turn the driving requirement into an energy and parking question. An illustrative vehicle traveling 30 miles at an assumed 0.30 kWh per mile needs 9 kWh returned to its battery, before charging losses. An assumed effective charging rate of 1.1 kW over ten available hours would deliver 11 kWh. Those assumptions suggest an existing suitable charging arrangement is worth assessing before buying a faster wall unit.
The same plan can fail after a long trip, in cold weather, when the car arrives late or when another driver needs the parking space. Repeat the calculation for a demanding day using your vehicle's actual consumption information and realistic hours. Include losses and operating margin instead of treating the simple arithmetic as a guarantee. This is a planning exercise, not circuit sizing or a substitute for the electrician's assessment.
Write the result in one sentence: “Our normal requirement appears covered, but Friday's late arrival leaves a shortfall,” or “Our existing permitted setup meets both cases.” A specific shortfall makes a better design brief than “install the fastest charger.” The EPA calculator and home-charging guidance can help frame the need.
Two drivers should build a joint charging timetable rather than automatically ordering a second unit. If you lack dependable private access or permission, use the no-home charging plan to assess workplace and other authorized options. A useful result can be adequate charging without a new installation.
Finish with approvals and a demonstrated handoff
Keep separate evidence for the permit, any required inspection, the installer's commissioning and your ordinary first charge. Ask who owns any outstanding correction. A green app icon shows one aspect of operation; it does not prove an inspection has been approved or that a protective limit has been commissioned.
Have the installer show the documented normal indicators, configured charging limit, routine user controls and support contact. Qualified people should perform any electrical or failure-mode testing. Store the final information in a portable project file, and use the appropriate exact-family buying guide only after the accepted installation constraints are known. For operating cost, compare whole-home electricity plans before assuming a lower advertised EV rate saves money.
The right next step
Write down the daily charging need, parking location, approximate route, and future electrical plans. Then request an assessment that gives you the capacity conclusion and a complete scope—not just a price.
Commercial disclosure: EV Charging Nation may receive compensation when a reader uses the installation-help call path. Compensation does not change the safety or quote-comparison criteria in this guide.
If you prefer to compare bids yourself, begin with the installation-cost worksheet and the installer checklist.